If the watermark you need to add is an image watermark.
Step 1: Click this link to enter the editing tool.
Step 2: Upload an image as a background image.
Step 3: Click the layer button on the uploaded image and select "Add Image Layer".
Step 4: Upload another image to overlay and adjust the size and position of the overlay image to achieve the desired effect.
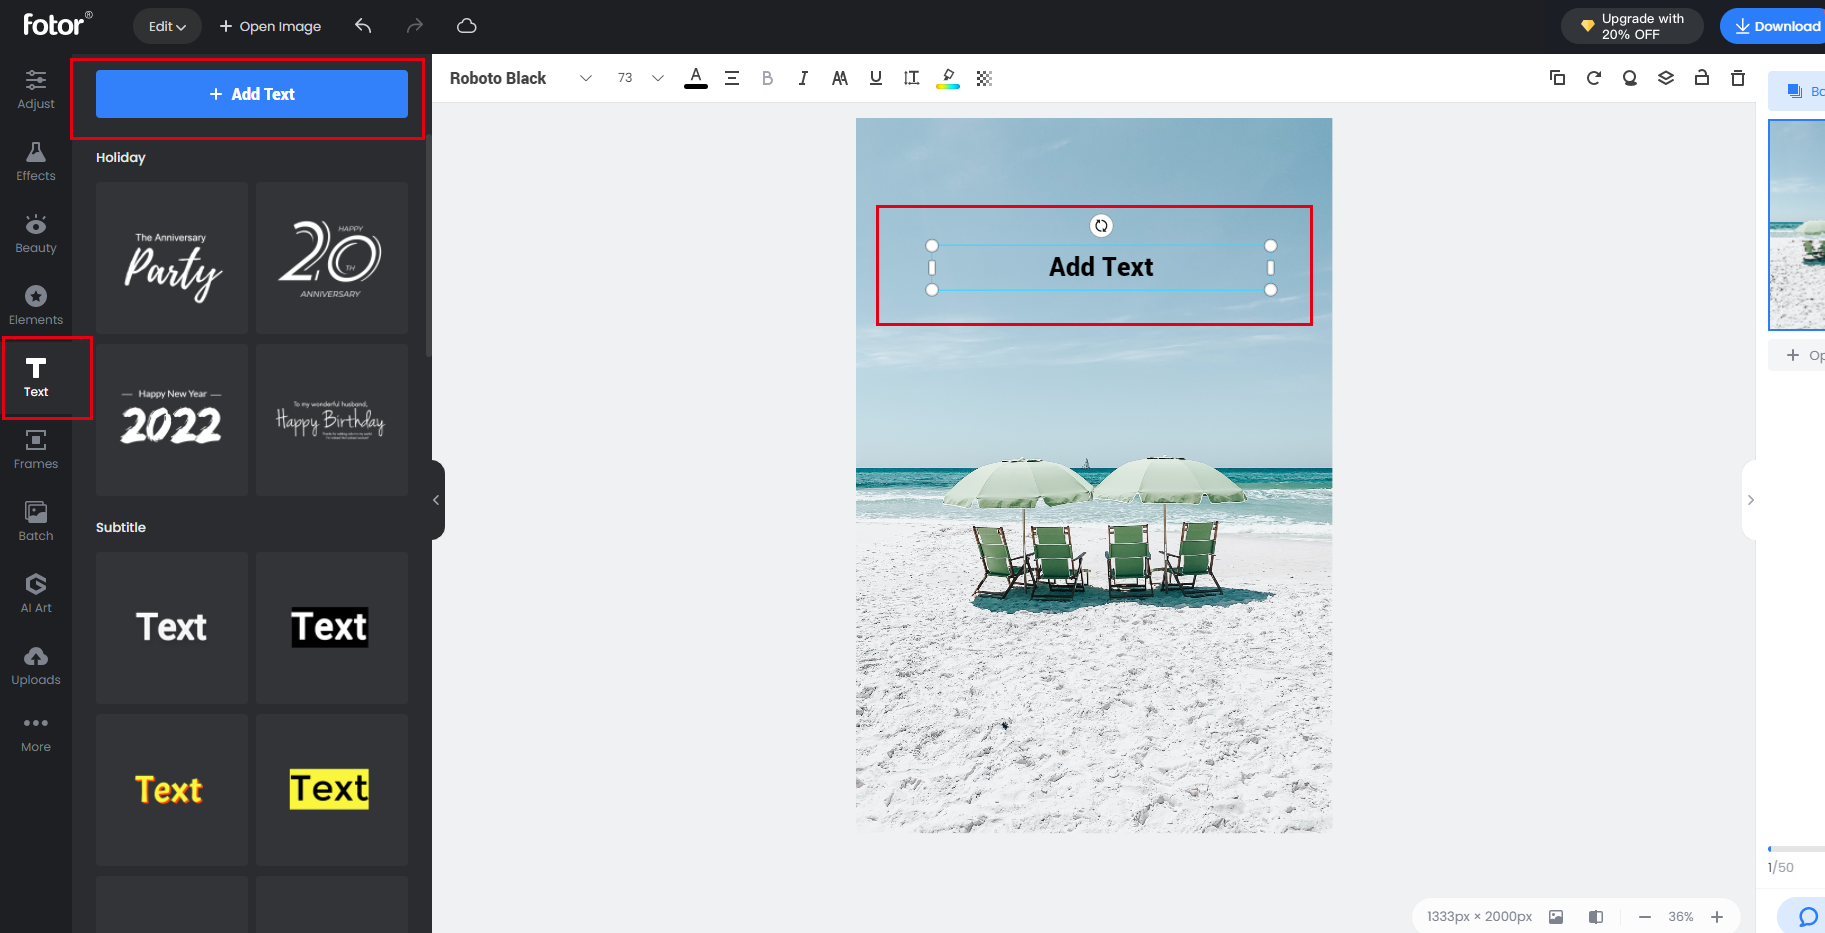
If the watermark you need to add is a text watermark.
Step 1: Upload your photo in Fotor’s Photo Editor through those uploading photo ways. 
Step 2: Under the "Text" menu, click “Add Text”,then enter the text you need as a watermark.